Running Bots in your Matrix Room using Maubot Link to heading
Since receiving support requests and development ideas all over the place for redlines, I decided to try running a #Matrix room to centralise some discussion and an informal venue to ask weird and “stupid” questions. Since I am in the mood for experimentation, I wanted to run robots in my room. For my redlines room, I wanted a robot to track the activity on the GitHub repo, and welcome new users by posting what is the purpose of the room etc.
I was surprised to find very little documents or bots on how to run a matrix bot. I decided to go with maubot because I like the idea of plugins. While the interface and the docs leaves something to be desired, it’s actually relatively straightforward. Here’s a short write-up/#tutorial of how I did it in case it helps someone out there.
Step 1: Start a maubot server Link to heading
You’re going to need a place where your bot could listen for events and react to them. I decided to go with my Contabo VPS which I used to run docker compose services.
The documentation does not provide instructions on how to use docker compose with the #docker image, and the instructions on reverse proxy leaves out #traefik. Having skewered many services into docker compose yaml, I was unfazed.
Add this to your docker compose file, and you will get maubot with traefik SSL.
  maubot:
    image: dock.mau.dev/maubot/maubot:latest
    restart: always
    volumes:
      - ./maubot:/data:z
    labels:
      - traefik.backend=maubot
      - traefik.http.routers.maubot.rule=Host(`maubot.example.com`)
      - traefik.http.routers.maubot.tls=true
      - traefik.http.routers.maubot.tls.certresolver=myresolver
      - traefik.http.middlewares.maubot-redirect.redirectscheme.scheme=https
      - traefik.http.middlewares.maubot-redirect.redirectscheme.permanent=true
      - traefik.http.routers.maubot.middlewares=maubot-redirect
      - traefik.http.services.maubot.loadbalancer.server.port=29316
Remember you need to modify the example to your circumstances: 1) correct domain name for your server, 2) create a directory for the data and 3) fix the reference to the SSL certificate resolver for traefik.
Run docker compose up -d and docker should now pull the maubot image and start running it.
At this point, you should go to the data directory you created for maubot and look for “config.yaml” file. You can look at all the settings and decide whether you need to change them. However, you need to do this now: add an admin user in the “admins” section of the file by providing a user name with a password as a value.
Step 2: Create a new user to be the bot Link to heading
I wanted a special user to be the bot for my room, so I registered one in my home matrix server for this purpose. It’s like signing up for the service again. There’s nothing special in this step.
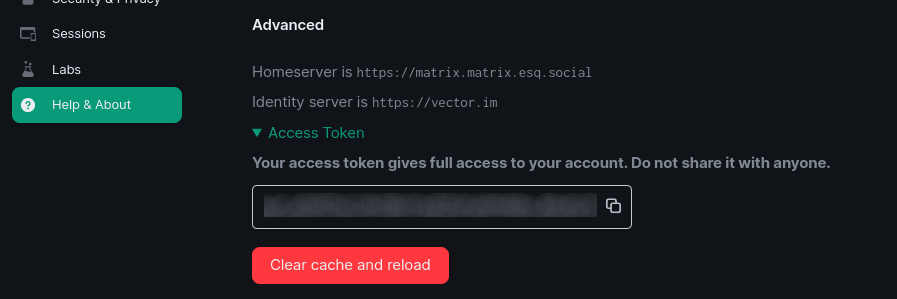
You do need to take note of the “access token” for a future step. Find it in Element by pressing on the “Access Token” dropdown arrow under Settings -> Help & About -> Advanced.
Step 3: Create a client on the Maubot Manager Link to heading
Now let’s dive into creating a bot.
Assuming you’ve got the server up, you can now visit the Maubot manager by adding this “_matrix/maubot” to your server’s path and logging in. You should now be able to see the Maubot Manager interface. It allows you to create instances and clients, as well as upload plugins. We’re going to do all three for the first bot we are creating.
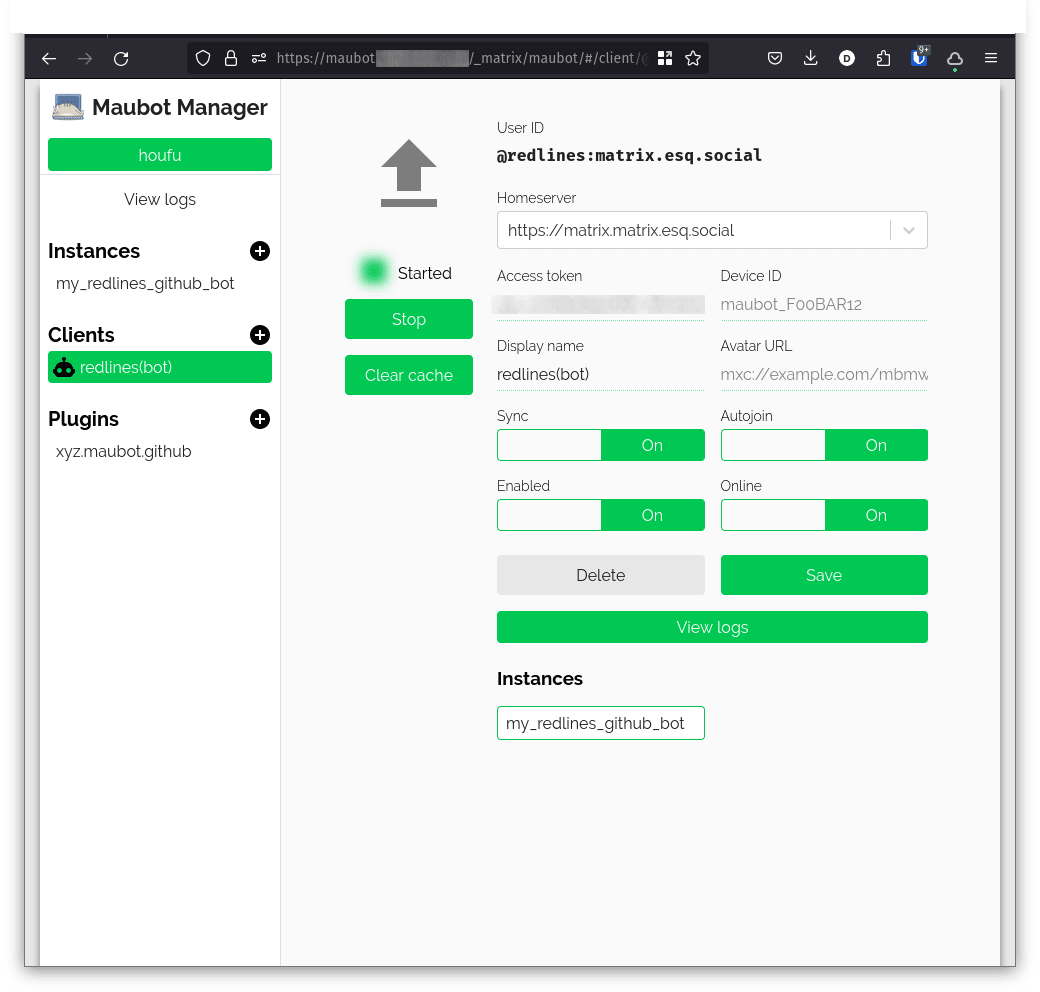
First, you’re going to need a client. This is actually the new user you created in step 2. Click on the plus button and add the required details.
You’re going to need the details of your bot user’s access token, user ID and homeserver. You can find the user ID in the Settings-General page and it looks like this format: @username:home server. My matrix ID for example is @houfu:matrix.esq.social. The other two information could be found in the screen highlighted in Step 2.
It doesn’t appear to be necessary to fix a device id or avatar url to create your client. You can fill them in later.
Step 4: Upload a plugin Link to heading
It’s time to get the code of the bot in.
You can find a list of plugins available to maubot on this page: https://plugins.maubot.xyz/
The plugins I chose were:
- Github bot to track the updates on the redlines repository.
- A welcome bot
In order to upload the plugin to your maubot server, you would upload an mbp file for the plugin in the Maubot Manager. In many Github repos, you can find a release with the mbp file you can download. Otherwise, you can clone the repo, install maubot through pip and then run `mbc build` to get the mbp file.
Use the Maubot Manager to upload the plugin.
Step 5: Create an instance Link to heading
It’s time to bring the code to the bot. Create an instance and link the plugin to the client you created earlier.
Once you have created an instance, you can edit its settings in the box provided. The settings are project specific, so be sure to check the documentation.
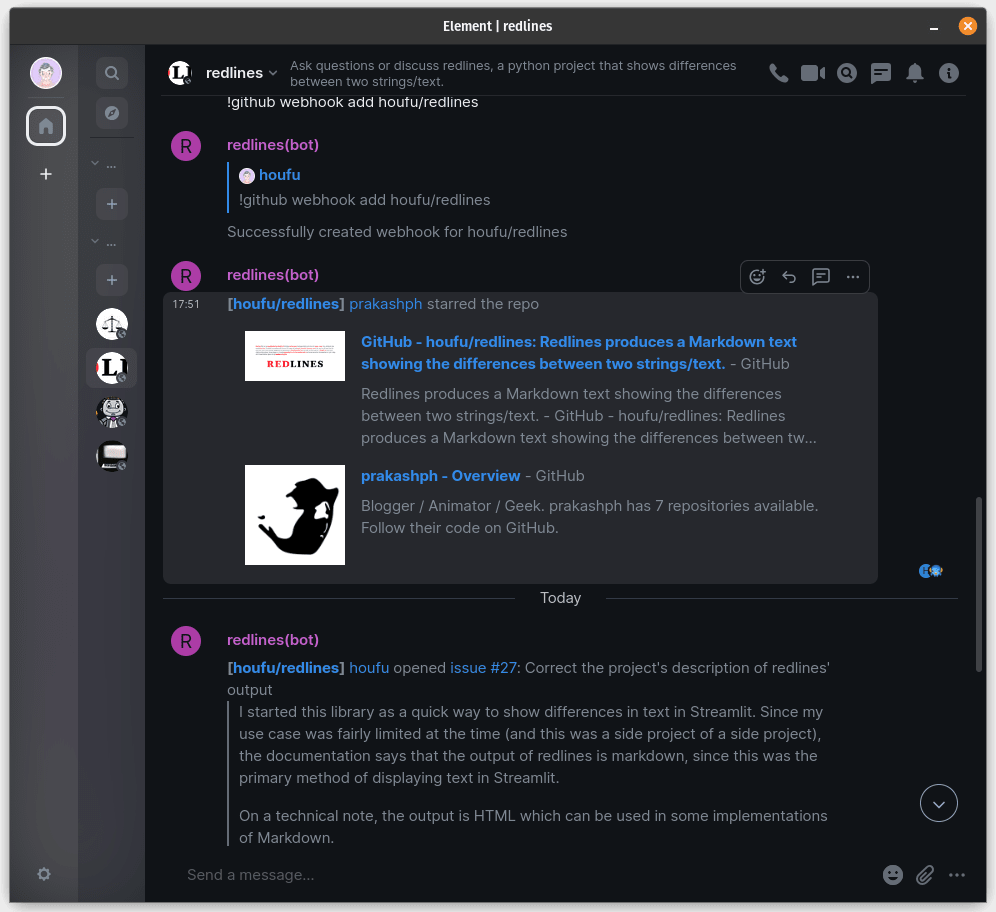
Once you have reached this step and checked that everything is enabled and running, your bot is operational and ready for action! (You may need to follow some bot specific instruction like entering commands in your matrix room, so read the docs!)
It works! Link to heading
Marvel at the wonders of automation!
Have fun with your bots!


